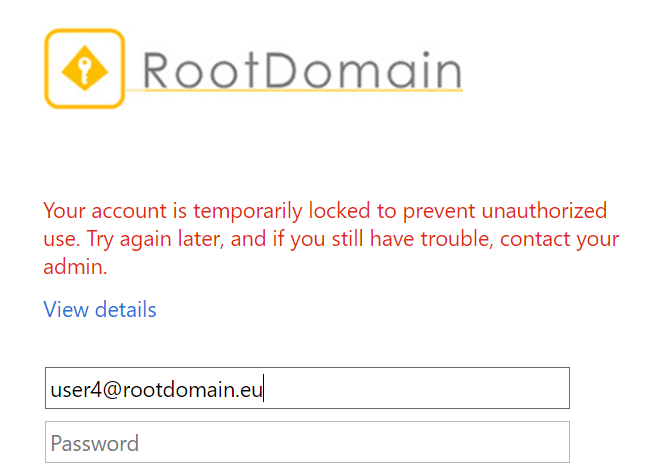
On Monday morning, the office opened, and everyone tried to login to their computers, however no-one seemed to be able to login. The helpdesk was quickly flooded with calls and it seems everyone’s account was locked-out.
It could happen to almost every company that does not have a good policy on lockouts. Hackers try as many usernames and passwords as possible to get in or to deliberately lock everyone out. A Denial of Service attack in a different form.
When you are using Azure Active Directory with a password on-premises, this might become a reality. As many attempts are made on the ADFS server in a Federated architecture, the account in AD itself gets locked out.
But there is a way to avoid that. It is possible to have a pre-emptive lockout on ADFS while the internal AD account is still usable. This means users will not be able to login remotely to ADFS anymore for a period, but they will still be able to logon to their domain joined machines. When configuring this, make sure that the lockout is set to a lower standard than your internal AD policies. For example, if your AD policy states 5 attempts, 10 minute lockout, ensure that the ADFS policy is set to a maximum of 4 attempts.
ADFS based lockout protection
To implement this, a single command is required:
Set-AdfsProperties -EnableExtranetLockout $true -ExtranetLockoutThreshold 15 -ExtranetObservationWindow (new-timespan -Minutes 30)
Note that it is best to upgrade your ADFS farm to Windows Server 2016. In 2012 R2 you will become fully dependent on the PDC emulator role without any failover capabilities. If your PDC becomes unavailable, so will the ADFS service to authenticate users!. In Server 2016 you can configure the require PDC to be false by adding the following switch: ExtranetLockoutRequirePDC $false
But what is you are using pass-through authentication? Or you want to change the default values when replicating passwords? You can now change that too.. it requires a bit or API POST’s and GET’s, but ultimately it is possible to provide a pre-emptive lockout in every scenario. The feature is called Smart-Lockout and is active by default if you replicate your passwords. Obviously if you are using ADFS, you need to configure ADFS as described above. The default policy for this feature is set to 10 attempts and a duration of 60 seconds initially. The 60 seconds actually increase rapidly upon every consecutive attempt with a wrong password.
When you want to change these default values you need to go through the GraphAPI, which requires you to have a P2 license. The feature itself is free, controlling it however does require the most advanced license available. But you can request a free 90 trial and then setup the policies. You also need to be a global admin as you are changing the values of a security feature. Note that you do not require the P2 license for the feature itself, only to configure it (once).
Active Directory Policies
To start, make sure to set or read the existing values of your lockout policy. You can find this on the default domain policy in the following path: Computer Configuration\Policies\Windows Settings\Security Settings\Account Policies\Account Lockout Policy.
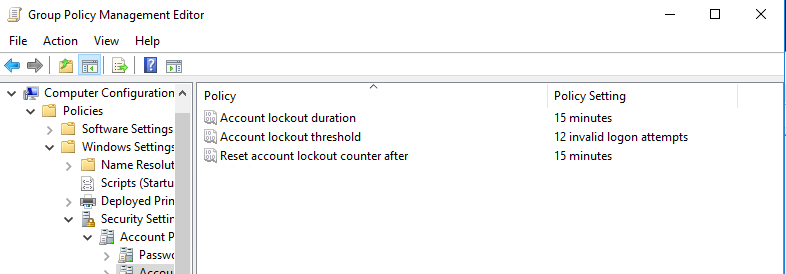
There are two main values that are most important: Account Lockout Threshold and Reset Account Lockout Counter After. The first one defines the number of attempts that can be made with a wrong password, the second is the time window in which the wrong attempts can take place. For example:
Account Lockout Threshold = 3
Reset Account Lockout Counter After= 10 min
Means that a user can try 3 wrong passwords within 10 minutes before lockout happens. If the user tried 3 wrong passwords but over a timespan of 20 minutes, it will not lockout.
Make sure to set the policies in AD and ensure that the Account Lockout Threshold you are going to use in AAD is less than the internal one.
Azure AD policies – PTO Lockout protection
The Azure AD policy is available through GraphAPI, which means we need to go technical.. but we will take it one step at a time..
- Browse to https://developer.microsoft.com/en-us/graph/graph-explorer
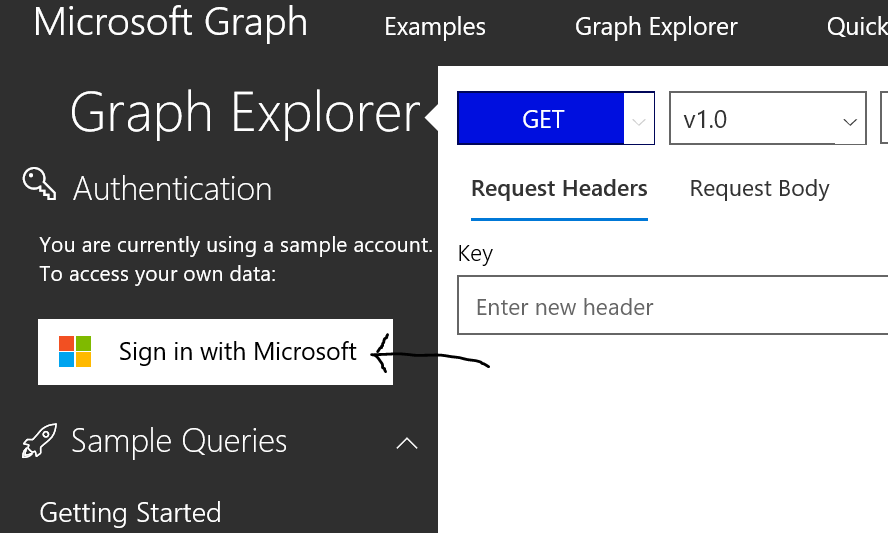
- sign in with your global admin account
- if this is the first time, there will be a prompt that you are not (yet) a global admin in the GraphAPI. This is an additional security measure. Click the prompt to elevate your privileges. You will need to sign-in again.
- On the top bar:
- Set version to “BETA”.
- Set request type to “GET”.
- Set URL to https://graph.microsoft.com/beta/<yourdomain>/settings.
- For example: https://graph.microsoft.com/beta/forestroot.net/settings
- Note that you can specify any validated domain; but settings will apply to the whole Azure AD instance. It is not possible to specify different timeout values per domain name.
- Click “Run Query”.
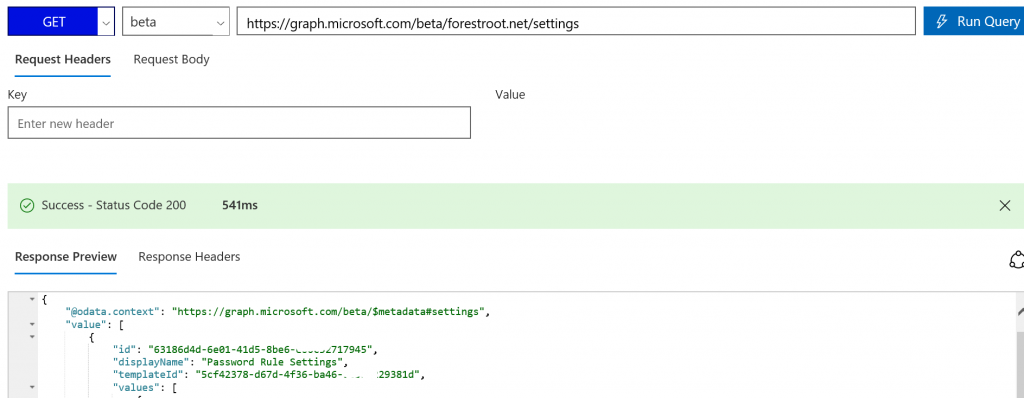
- If you haven’t set the Smart Lockout values before, you’ll see an empty set as follows:

- If you have set the Smart Lockout values before, you should see those values as follows:
Setting them for the first time
What we will do here is inject the settings which will automatically create a policy in our tenant:
- Set version to “BETA”.
- Set request type to “POST”.
- Set URL to https://graph.microsoft.com/beta/<yourdomain>/settings.
- Copy and paste the following into the “Request Body” field, changing the Smart Lockout values as appropriate, and using a random GUID for “templateId”:
{
  "templateId": "5cf42378-d67d-4f36-ba46-e8b86229381d",
  "values": [
    {
      "name": "LockoutDurationInSeconds",
      "value": "300"
    },
    {
      "name": "LockoutThreshold",
      "value": "3"
    },
    {
      "name" : "BannedPasswordList",
      "value": ""
    },
    {
      "name" : "EnableBannedPasswordCheck",
      "value": "false"
    }
  ]
}

- Click “Run Query”.
- Use the GET query from the preceding section to read the Smart Lockout values and verify that they have been set properly.
Changing the values
If you have already set the policy once, you need to change the values that where entered earlier. In order to that, we’d need to grab the current ID of the policy and then use that ID to change its values.
- Use the GET query from the preceding section to read the Smart Lockout values.
- Look for the item with “displayName” as “PasswordRuleSettings”, and copy its “id” (which is a GUID).
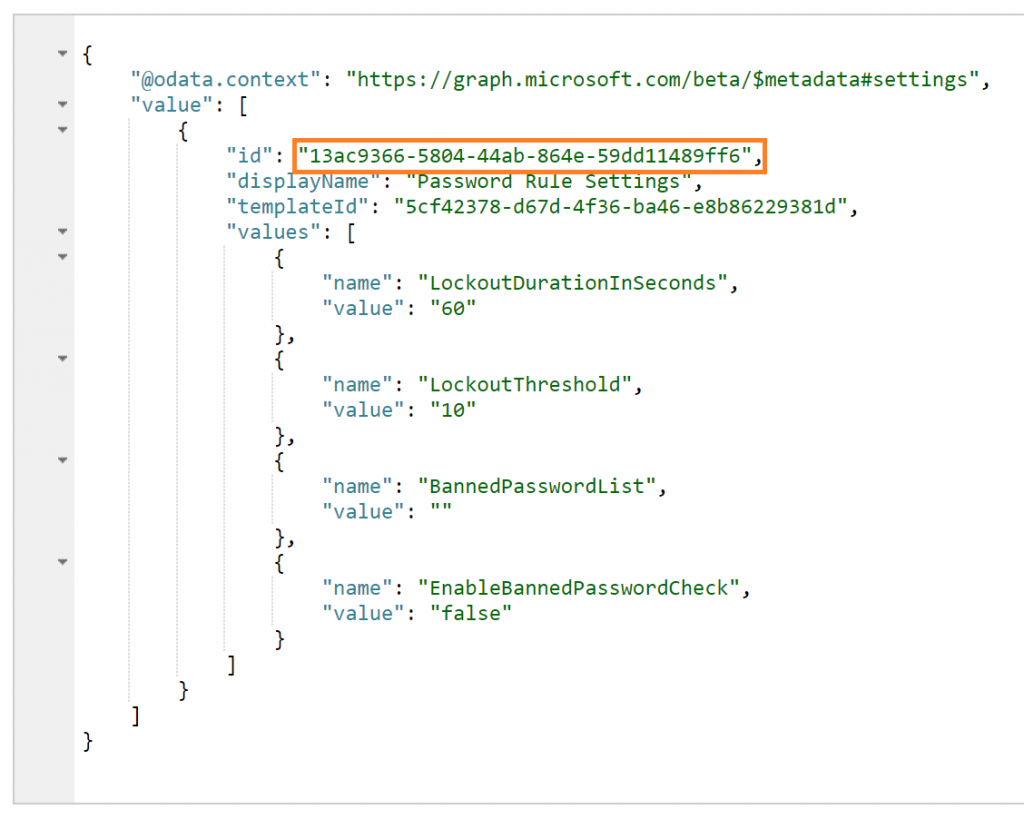
- Look for the item with “displayName” as “PasswordRuleSettings”, and copy its “id” (which is a GUID).
- Configure the update request as follows:
- Set version to “BETA”.
- Set request type to “PATCH”.
- Set URL to https://graph.microsoft.com/beta/<yourdomain>/settings/<id>.
- Copy and paste the following into the “Request Body” field, changing the Smart Lockout values as appropriate, and using a random GUID for “templateId”:
{
  "values": [
    {
      "name": "LockoutDurationInSeconds",
      "value": "30"
    },
    {
      "name": "LockoutThreshold",
      "value": "4"
    },
    {
      "name" : "BannedPasswordList",
      "value": ""
    },
    {
      "name" : "EnableBannedPasswordCheck",
      "value": "false"
    }
  ]
}
- Click “Run Query”.
Use the GET query from the earlier section to read the Smart Lockout values and verify that they have been updated properly.
And that is it.. you now have pre-emptive lockouts configured on Azure AD – ensuring that local AD accounts are not locked due to hackers trying your passwords on Azure AD.. oh and.. make sure to monitor the Sign-In logs in AAD…
