How to move a large number of VM’s between AVsets
This topic is to introduce a new script that helps with deployments in Azure Availability Sets, I actually had a few reasons for writing the script, Capacity Errors and Proximity Groups
AV Set Capacity
When you deploy a new VM to an Availability Set in, you might bump into a “capacity” error
‘The resource operation completed with terminal provisioning state ‘Failed’.\\’,\\r\\n \\’details\\’: [\\r\\n {\\r\\n \\’code\\’: \\’AllocationFailed\\’,\\r\\n \\’message\\’: \\’Allocation failed. If you are trying to add a new VM to an Availability Set or update/resize an existing VM in an Availability Set, please note that such Availability Set allocation is scoped to a single cluster, and it is possible that the cluster is out of capacity.
Now, the message already tells something about the backend architecture. An AV set is deployed on a Single Backend Azure Cluster that provides capacity to several VM types. If that type is at capacity at that particular cluster, you are out of luck. The way to overcome this is: a) wait for more capacity to become available on that cluster, or b) move all your VM’s to a new Availability Set.
Given I don’t know when capacity becomes available, but could move my VM’s.. let’s take a look at how we can do this as easily and painless as possible.
Proximity Groups
Another reason for moving your VM’s to a new AV set is to use the new Proximity Group feature. This ensures multiple VM’s or VM’s in Availability Sets run in close proximity to each other to keep the network latency as low as possible between those nodes. This is especially useful when you are running BigData clusters such as Cloudera, where you want the Master nodes to have the least amount of latency to the Worker nodes.
But you can’t add a proximity group if VM’s are active on an AV set. So, you must create a new AV set and move all the VM’s over.
Resizing VM’s during AVSet move
Given the AVSet is pinned to a backend cluster, not all sizes are available in each AVSet. This means that if you want to change the size of a VM in an Availability Set it isn’t guaranteed you can. And, if you could, you would now run with different sizes in an Availability Set which might give you weird issues as well. Moving all VM’s to a new AVset and resizing them during the move solves the issue as the new deployment will already indicate your desired new size.
Script – Change-AzAvailabilitySetMembers.ps1
Which brings us to the new script. The script changes VM’s that are in an availability set, but does not only move them, it can also change their VMSize and Accelerated Networking settings in 1 go. In order to make the script even more useful, you can run it against VM’s in a single AV Set, without moving them to a new AV set.
The script assumes both AVSets to be in a single ResourceGroup, but if you are moving a single VM, you can specify a different resourcegroup for just the VM.
So, what can it do;
- Move VMs from SourceAVset to TargetAVset
- Resize VMs during move
- Resize VMs in existing AVSet
- Enable/Disable Accelerated Networking during move
- Enable/Disable Accelerated Networking during move in existing AVset
- Run a number of jobs in Parallel
- Run only for a selected VM
- Run only for a particular Fault Domain
- Run only for a particular Update Domain
- Run for a combination of Parallel/Fault/Update Domains/VM
Script workings When starting the script, it will connect to the source AV set and grab all the VM ID’s for that AVset. If a targetAVSet is specified, it will also connect to that AVSet to see if it exists, and if it can support the Size for the first VM in the ‘to be’ migrated set. Note that it doesn’t check on the backend capacity on the target AV set, as we cannot get those numbers.
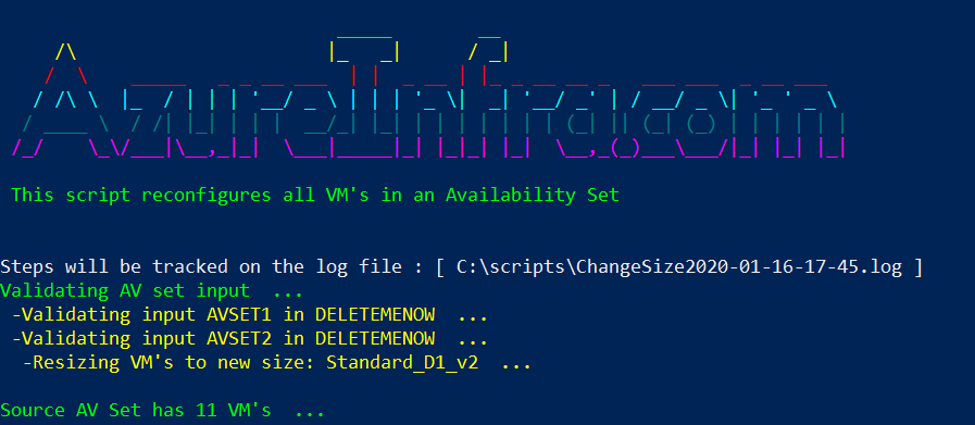
Once we have the VM id’s from the source AVset, filtering is applied (update domain, fault domain, VM name, parallel) and the result are the VM’s in scope for the move or resize/network update.

The script then retrieves the properties for those VMs and exports the configuration of each of these VM’s to 2 JSON files. One is the ARM export for the VM object and the other one is the VM configuration as it is running now. These backups help us in case something goes wrong.

If an AVset migration or size change is requested, the ARM JSON file is copied into a new file and changes are made to the new file to make it ready for re-deployment. This means changing DiskCreateOption to “attach” and much more.
The VM(s) then actually get deleted – note that since a VM deletion doesn’t delete the disks or NIC, no information is lost, only the VM configuration is removed. If a change on the NIC is required, it will be updated while the VM is deleted against the NIC(s) of the VM.
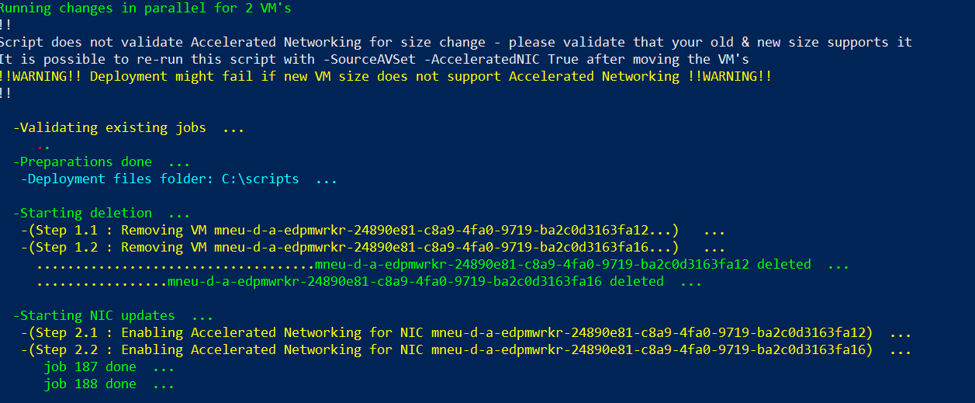
The new ARM JSON file is then used to re-create the VM using the New-ResourceGroupDeployment command.

The deletion, update-nic and new-deployments are ran in parallel to speed up the process with a maximum number specified by the -Parallel parameter.
The script is available on my GitHub page, if someone feels the need to add comments/features to it, please do so.
https://github.com/RZomerman/Change-AzAvailabilitySetMembers/tree/Version4
Examples
Move all the VM’s 1-by-1 from AVSET1 to AVSET2:
.\Change-AzAvailabilitySetMembers.ps1 -SourceAvailabilitySet
AVSET1 -TargetAvailabilitySet AVSET2 -ResourceGroup RESGRNAME
Move all the VM’s in Parallel from AVSET1 to AVSET2 (200 is the maximum number of VM’s in an AVSET):
.\Change-AzAvailabilitySetMembers.ps1 -SourceAvailabilitySet
AVSET1 -TargetAvailabilitySet AVSET2 -ResourceGroup RESGRNAME -Parallel 200
Move all VM’s from AVSET1:faultDomain 1 to AVSET2
.\Change-AzAvailabilitySetMembers.ps1 -SourceAvailabilitySet
AVSET1 -TargetAvailabilitySet AVSET2 -ResourceGroup RESGRNAME -FaultDomain 1 -Parallel
200
Move all VM’s 1-by-1 from AVSE1:updateDomain2 to AVSET2 and upgrade them to Standard_D2_v2
.\Change-AzAvailabilitySetMembers.ps1 -SourceAvailabilitySet
AVSET1 -TargetAvailabilitySet AVSET2 -ResourceGroup RESGRNAME -UpdateDomain 2
-VMSize Standard_D2_v2
Enable Accelerated Networking for all VM’s in AVSET1
.\Change-AzAvailabilitySetMembers.ps1 -SourceAvailabilitySet
AVSET1 -ResourceGroup RESGRNAME  -AcceleratedNIC
True
Move the first 10 VM’s in AVSET1 to AVSET2, resize them & enable Accelerated Networking
.\Change-AzAvailabilitySetMembers.ps1 -SourceAvailabilitySet
AVSET1 -ResourceGroup RESGRNAME  -AcceleratedNIC
True -Parallel 10
Move VM with name MyServer from AVSET1 to AVSET2, resize them & enable Accelerated Networking
.\Change-AzAvailabilitySetMembers.ps1 -SourceAvailabilitySet
AVSET1 -TargetAvailabilitySet AVSET2 -ResourceGroup RESGRNAME  -AcceleratedNIC True -TargetVM MyServer
Move VM with name MyServer from AVSET1 to AVSET2 where MyServer is not in the same resource group as AVSET1 / AVSET2
.\Change-AzAvailabilitySetMembers.ps1 -SourceAvailabilitySet
AVSET1 -TargetAvailabilitySet AVSET2 -ResourceGroup RESGRNAME  -AcceleratedNIC True -TargetVM MyServer
-TargetVMResourceGroup VMResourceGroup